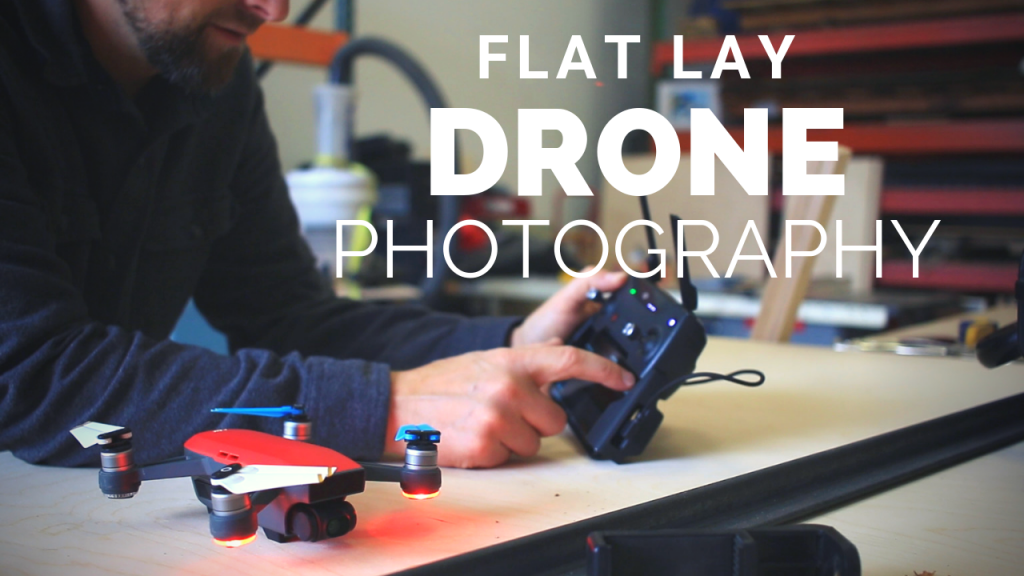
Flat Lay Drone Photography & Timelapse
This past Thursday, I woke up with an audacious goal in mind – Flat Lay Drone Photography. You see, I want a flat lay photograph and a timelapse for Instagram of a teardrop camp trailer build. But the scale is so much larger than most flat lay photography I hadn’t figured out how to shoot it…until now. I needed a DIY Drone Flat-Lay photo and timelapse process.

To complicate things, I needed to do it inside a metal building.
- How was I going to do it?
- Sure it’s easy to shoot a flat lay of my keys and wallet but what about something substantial and indoors?
- How do I light a large Flat Lay Photo like this for Instagram?
The answer is to position the drone above the flat-lay area, press record, and quickly move everything into that space that is clearly marked on the ground.
The shot seems simple but the setup had to be on point. I had a number of problems to overcome in developing this process. Here are the details.
Flat lay Drone Photography Equipment
The list of equipment that one needs to shoot an aerial flat lay timelapse or photograph is probably less than a small scale flat lay photograph. The biggest concern is lighting (which I address in the next section). However, there were a few pieces of gear that I took with me that turned out to be handy.
- Gaff Tape (Link) – I put Gaff tape on the cement floor to mark the area that the drone’s camera was recording. This way, I could place all of the wood pieces in the appropriate place with the assurance that they were in the frame. Since I was flying, recording, and moving all of the parts, I needed this extra guide to help me get it right.
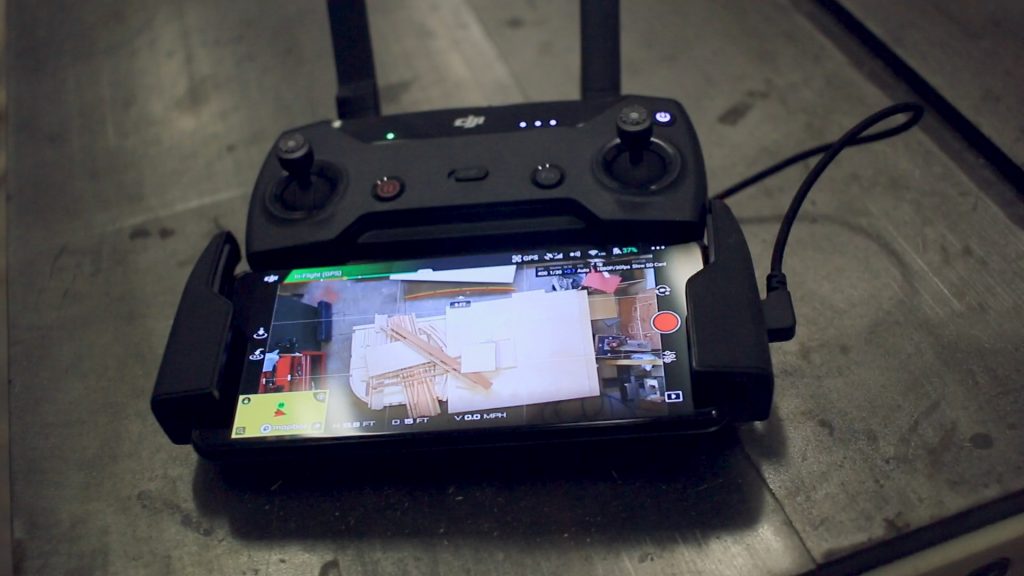
- DJI Spark Fly More Combo (Link) – I took my DJI Spark because I know it can shoot aerial photography over time. There are options in the camera menu for a timelapse. The second reason I use it is that it is my smallest and least expensive drone. Since I flew indoors, I didn’t want an accident to harm a more expensive drone. The final reason I chose the spark is that I shot this for social media. The DJI Spark has plenty of resolution for an Instagram or Facebook photo.
- Pixel 3 Phone (Link) – I used a pixel 3 because the screen resolution is superb and it is very easy to dump a memory card of photos or footage to the phone from the drone.
That’s it! Sure, I hauled a ton of gear just in case I’d need it but I didn’t. That was all I used. If I could have, I would have had a massive light source but that isn’t very logistically or financially practical so I rolled with what I had.
Flat lay Drone Photography Lighting
There are plenty of flat lay photography tips out there. But there aren’t many for a large scale shoot. So I asked myself, “How do I light a flat lay timelapse and photograph for something the size of a small car?”. The obvious answer was a large light source that was diffused. I chose the sun. After all, it doesn’t get much bigger than a giant burning star!
When I got to the building, I opened the 12 foot by 18-foot garage door and sunlight flooded the whole shop. I thought this might be the perfect solution but I couldn’t tell for sure while I was standing on the ground -so I fired up my DJI Spark Drone and prepped it for some aerial timelapse work.
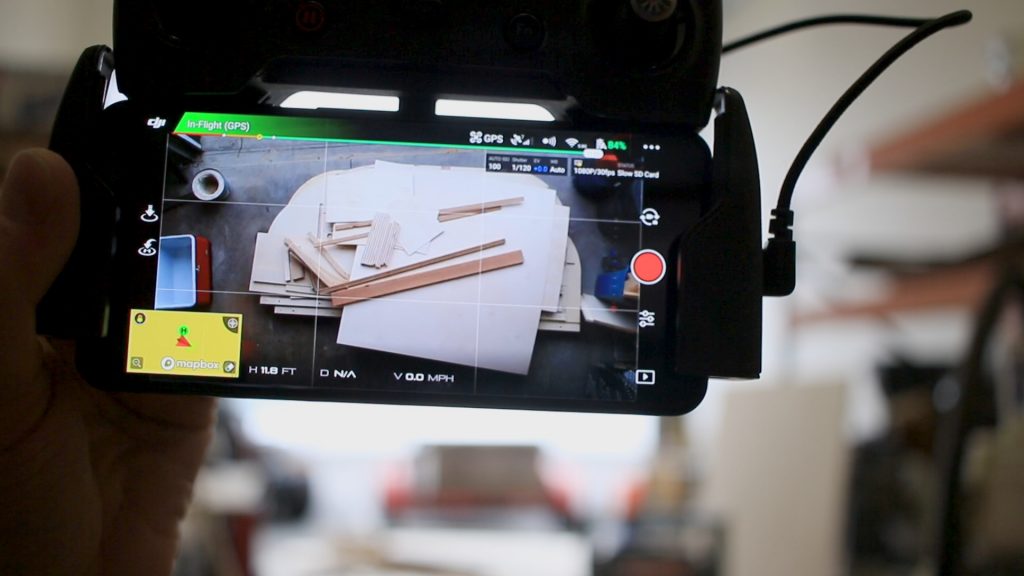
Once the drone was in position, I looked at the image on my screen. It was good but not great. The light was too harsh and the shadows were distracting from the shapes of all of the wood parts. I closed the door. The Drone lost GPS signal but the image was much better.
Since the drone is so small and very close to the shop lights, there wasn’t a shadow cast onto my flat lay timelapse/photo area. It was decided. Shop lights with the door closed. Make sure the settings on the drone compensated for fluorescent bulbs and set the gain just right.
Shooting an Aerial Timelapse
The exact process of getting the timelapse and flat lay photos had to be perfect. Since I did it alone, I knew every step I needed to take to complete it in the given time. There was a complication.
You see, this is an industrial building that is almost entirely steel. All of that steel interfered with the Spark’s GPS navigation. I needed to fly it manually. It required me to be ninja quick or risk losing a drone as it flew itself into a wall or ceiling. That made me nervous so I switched the props on my drone from the brand new ones to some used ones. Just in case it did wipe out, at least I’d have new props. This was a mistake but I didn’t know that until later.
To set up the shot, I got the drone up for a practice run. While it was stationary, I put the gaff tape on the floor to line up with the corners of the picture. During this practice shoot, I realized that a video would be easier than a timelapse. I’d just speed it up in editing. I also took a timing based on the drone’s battery. I had 11 minutes to do everything.
Here’s my plan:
- Take off, get into position, put the controller down and start moving the pieces for the timelapse – 3 min.
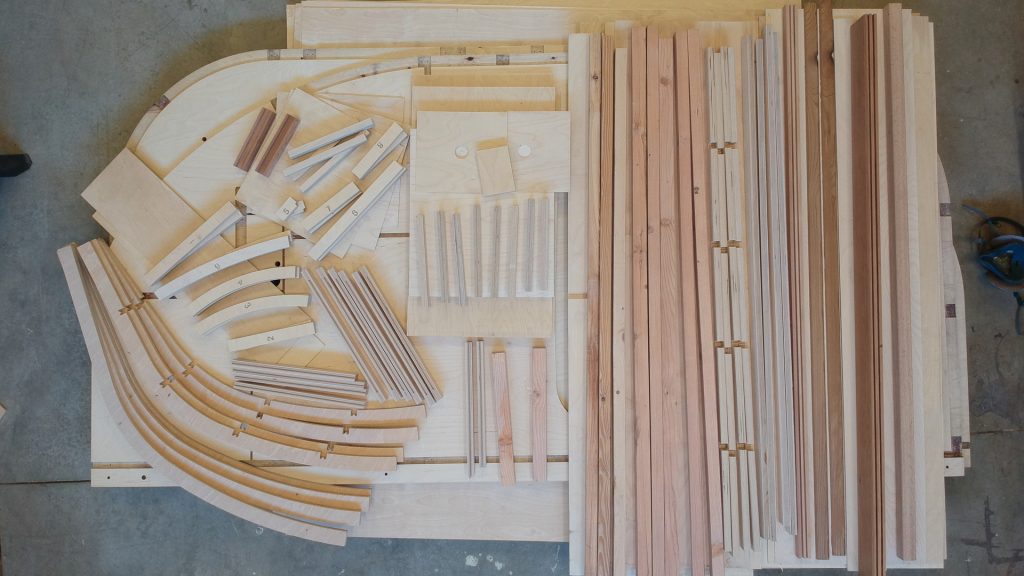
- Move 300 + wooden pieces (about 300 lbs of wood), check the drone’s status and framing occasionally – 6 min.
- Grab controller, navigate down, shoot a series of aerial flat lay photographs, land. – 2 min.
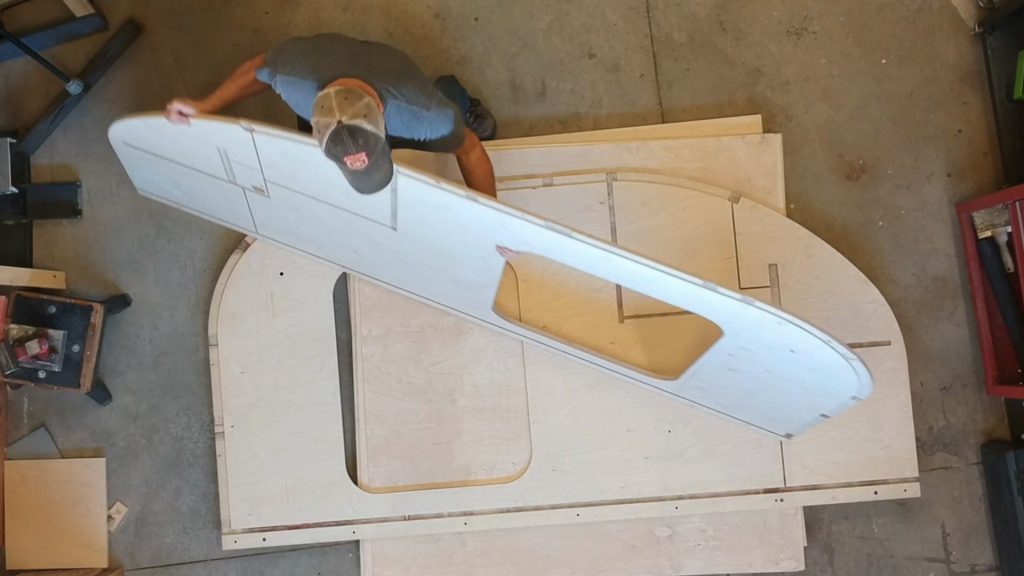
I also lined up all of the wood pieces in different stacks by size and weight so that the flat lay timelapse would look good and not like a disjointed pile of wood.
The moment came and I took my shot at it. It worked. I knew exactly where to go next and I shot what I wanted. As it turned out, I had more battery life than I had calculated but I still worked quickly.
What Went Well
Overall, I’d call this flat lay drone photography attempt a success. The flat lay photos are great. They are exactly what I was after. My Instagram and Facebook followers ate them up. So, that was great. I was also happy with the process that I came up with for getting everything done in 11 minutes. I can replicate those timings again and again. And the drone survived!

What Needs Improvement
The part of this shoot that needs work is keeping the drone stationary. In the photo above, you can see where the drone drifted and the framing of the project was off. The aerial timelapse is ok but not great because of this drift. I see three problems that need attention.
Closing the shop door helped keep air currents from interfering with its flight but it cut off the GPS navigation that keeps the drone relatively stationary.
The old props turned out to be a bad decision. Because those old props had some use and a little damage on them, I think they weren’t as efficient at cutting through the air and created some drag. I think this contributed to the drift that kept occurring during the shoot.
Something I didn’t think about until later is the distance the drone was from the subject of the camera. Typically when I shoot video with a drone, the distance is over 50 feet above the subject. In this case, it was 18 feet or less (as the pile of wood parts grew). This shorter distance amplified any movement the drone made. A drone moving a foot from side to side when it is 400 feet up makes little difference to the image. The same movement (or even less) at a closer distance and the image suffers.
Conclusions
Overall, this was the first attempt at flat lay drone photography and a good one. I got the photos I wanted and a timelapse that isn’t great but is good enough for social media. I think the key is to do everything possible to stabilize the drone and make the process as smooth and automatic as possible – especially if you’re a one-person team.
If nothing else, using the drone in this way prooves my point that entrepreneurs and small businesses can benefit from having a small drone in their back pockets – just to show a different perspective of their story. Shots like the ones I captured in this experiment are the outlier shots in an Instagram feed. They are different and easily break up the monotony of a social media feed. Just don’t go overusing it!
You can watch the process and timelapse in the YouTube video below. And while you’re at it, crush that subscriber button! I’m starting a whole series of videos, with my pro tips for my clients, to help entrepreneurs and small businesses make better media.
Until next time!
Mark
PS. If you liked this post, check out my previous post where I fixed corrupted DJI Drone Footage! Repair Corrupt DJI Video Files for FREE!