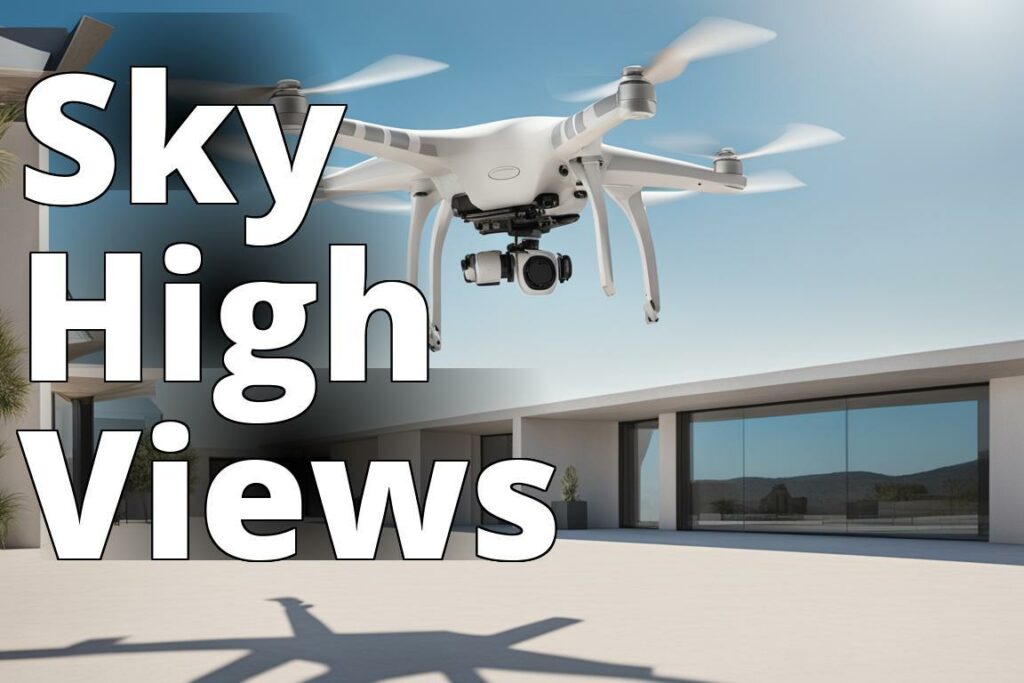
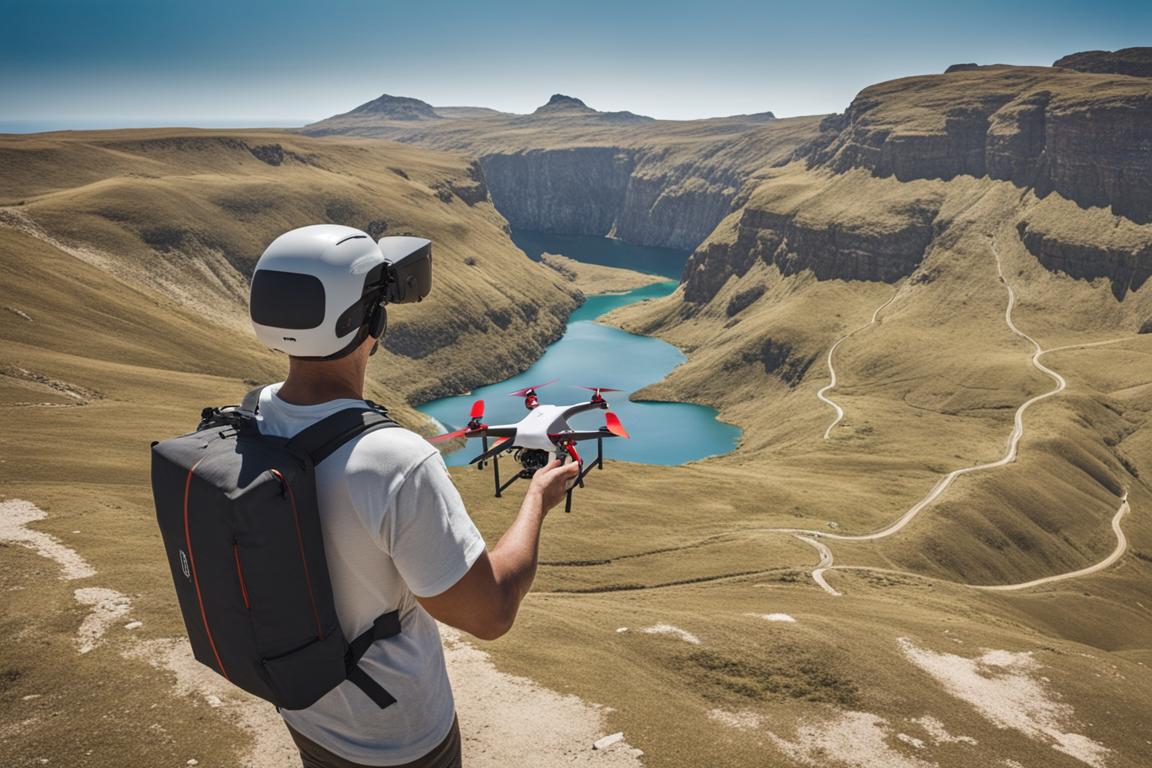
Learning How to Use a Drone Camera is not just about pushing buttons and watching it zoom into the sky; it’s an art form that requires patience, skill, and a bit of flair. In my years of helping business professionals create compelling video content, I’ve seen drones transform from niche gadgets to essential tools in the filmmaker’s kit. Whether it’s capturing breathtaking aerial videos or creating dynamic marketing materials, mastering the art of drone flying can elevate your content to new heightsliterally and figuratively.
Learning How to Use a Drone Camera for your business
- Buying a drone, registering it, and reading the manual are the initial steps.
- Practice flying indoors, learn different modes like Follow Me, Waypoint, and ActiveTrack.
- Master flying techniques in various conditions and modes for using a drone camera effectively.
Step 1: Buy a Drone
Choosing the right drone is the first step on your journey to aerial mastery. But with so many options on the market, it can feel like navigating a minefield. My advice? Start simple. Your first drone doesn’t need to be the most expensive model with all the bells and whistles. Look for something user-friendly, with a robust camera and stable flight capabilities. For more guidance on picking the perfect drone, visit our section on choosing a drone.
Step 2: Register Your Drone
Before you take to the skies, there’s some red tape to deal with. Depending on where you live, you might need to register your drone with the relevant authorities. This step is crucial, not only for legal compliance but for your safety and the safety of those around you. Registration usually involves providing your details and those of your drone, and in some cases, passing a knowledge test about safe flying practices.
Step 3: Read the Manual
I know, I know reading the manual isn’t the most thrilling part of drone ownership. But trust me, it’s essential. Each drone has its quirks, and understanding them can be the difference between a successful flight and a disastrous crash. Familiarize yourself with the controls, the calibration processes, and the safety features. This knowledge will serve as the foundation for all your future flights.
Step 4: Practice Indoors
Before venturing outdoors, get comfortable with the basics in a controlled environment. Find a spacious room and practice taking off, landing, and basic maneuvering. This is a great time to learn how your drone behaves in flight and to build your confidence. However, be mindful of your surroundings to avoid any indoor accidents.
Step 5: Learn to Hover
Mastering the hover is akin to learning how to balance when riding a bikeit’s a fundamental skill that every drone pilot must possess. Start by hovering at low altitudes and gradually increase your height as you become more confident. This exercise will improve your control and precision, making you better prepared for more complex maneuvers.
Step 6: Practice Flying in a Square Pattern
Once you’ve nailed hovering, it’s time to add some direction to your flights. Flying in a square pattern teaches you how to control your drone while moving in straight lines and making precise turns. Start with a small square, then gradually increase its size as your skills improve. This practice will pay dividends when you start filming, as smooth, controlled movements are key to capturing high-quality footage.
Step 7: Learn to Fly in Wind
Flying in perfect conditions is one thing, but real-world scenarios often involve a bit of wind. Start with light breezes and learn how your drone responds. Adjusting to wind conditions is vital for outdoor filming, as it can help you avoid unexpected drifts and ensure your drone remains stable during shoots.
Real-life Experience: Overcoming Fear of Flying in Wind
Story of Mark’s First Windy Flight
When Mark first ventured to fly his drone in windy conditions, he was filled with apprehension. The drone seemed to wobble and struggle against the gusts, making him nervous about losing control. However, remembering the article’s advice on flying in wind, he adjusted the drone’s settings to stabilize it better. With cautious movements, he managed to keep the drone steady and under control. Over time, Mark’s confidence grew as he practiced more in windy conditions, eventually mastering the art of flying in adverse weather. This experience taught Mark the importance of patience and practice when learning to fly a drone.
Step 8: Learn to Fly in ATTI Mode
ATTI mode, or Attitude Mode, disables GPS stabilization, forcing you to manually control your drone’s altitude and movement. It might sound daunting, but mastering ATTI mode can significantly improve your piloting skills, giving you greater control and flexibility during flights. This mode is particularly useful for indoor shoots or environments where GPS signals are weak.
Step 9: Learn to Fly in Sport Mode
Sport mode unlocks your drone’s full speed and agility, making it perfect for capturing fast-moving subjects. However, with great speed comes great responsibility. Practice in a safe, open area until you’re comfortable with the heightened responsiveness. Remember, the goal is to add dynamic shots to your videos, not to break speed records.
Step 10: Learn to Fly in Tripod Mode
Tripod mode is the videographer’s best friend. It slows down your drone’s movements, allowing for smooth, cinematic shots that can elevate your video content. This mode is perfect for tight, controlled movements, especially when precision is more important than speed.
Step 11: Learn to Fly in Follow Me Mode
The Follow Me mode transforms your drone into your personal cameraman, automatically tracking and filming a subject. It’s perfect for dynamic shots where the subject is moving, like walking through a bustling city street or hiking along a scenic trail. Mastering this mode requires an understanding of how to frame your shots and predict your subject’s movements for the best results.
Step 12: Learn to Fly in Waypoint Mode
Waypoint mode allows you to set a predefined flight path for your drone, enabling it to fly autonomously. This mode is fantastic for creating complex, repeatable shots that would be difficult to execute manually. It requires careful planning and a good understanding of your shooting environment to use effectively.
Step 13: Learn to Fly in Course Lock Mode
Course Lock mode simplifies the control scheme by locking your drone’s forward direction, regardless of its orientation. This can be incredibly useful for tracking shots, where maintaining a consistent direction is more important than facing the subject. It takes some getting used to, but once mastered, it can significantly enhance your aerial videography skills.
Step 14: Learn to Fly in Home Lock Mode
Home Lock mode is your safety net. It allows you to bring your drone back to its starting point with the push of a button, making it easier to recover if you lose orientation or encounter difficulties. While it’s a safety feature at heart, understanding how to use Home Lock effectively can also help you focus on capturing great footage without worrying about navigation.
Step 15: Learn to Fly in Point of Interest Mode
Point of Interest mode enables your drone to orbit around a specific subject, creating dynamic, 360-degree shots. This mode requires precise setup to ensure your subject remains the focal point of the shot, but when done correctly, it can produce truly stunning results.
Step 16: Learn to Fly in TapFly Mode
TapFly mode simplifies drone navigation by allowing you to tap on your screen where you want the drone to fly. It’s great for beginners or those looking to focus on capturing footage rather than piloting. However, it’s essential to remain vigilant and ready to take manual control if needed.
Step 17: Learn to Fly in Cinematic Mode
Cinematic mode is designed for filmmakers, offering smoother and more graceful movements that mimic professional camera dolly shots. Mastering this mode can take your drone videos from good to breathtaking, adding a polished, high-production value feel to your content.
Step 18: Learn to Fly in Gesture Mode
Gesture mode allows you to control your drone using hand signals, making it perfect for solo operators who want to be in the shot. It’s a bit gimmicky at first, but with practice, you can use it to create unique, engaging content that stands out.
Step 19: Learn to Fly in QuickShot Mode
QuickShot mode offers a variety of pre-programmed flight patterns designed to capture short, cinematic clips. These can be great for social media or as b-roll in larger projects. Experimenting with each QuickShot can inspire new perspectives and add creativity to your work.
Step 20: Learn to Fly in ActiveTrack Mode
ActiveTrack mode takes Follow Me to the next level, using advanced algorithms to keep your subject in frame, even if they’re moving unpredictably. It’s a game-changer for action shots, keeping the focus on your subject while you concentrate on the environment and shot composition.
Conclusion
Learning how to fly a drone better for camera use is a journey that blends technical skill with creative vision. Each mode offers unique opportunities to capture the world from a new perspective, enriching your video content and engaging your audience in ways you never thought possible. Remember, the key to becoming a skilled drone pilot lies in practice, patience, and a willingness to experiment. So take to the skies, explore the possibilities, and let your creativity soar.
For those looking to delve deeper into the world of aerial videography, don’t forget to check out our resources on drone video production, aerial video techniques, and post-production tips.
Happy flying! I’ll catch you in the next article.
Mark